In a nutshell
- 🔥 Heat reflection from aluminium foil (reflects ~85–95% IR) softens polymerised grease and oxide films so they release easily, enabling a visible refresh in a single session.
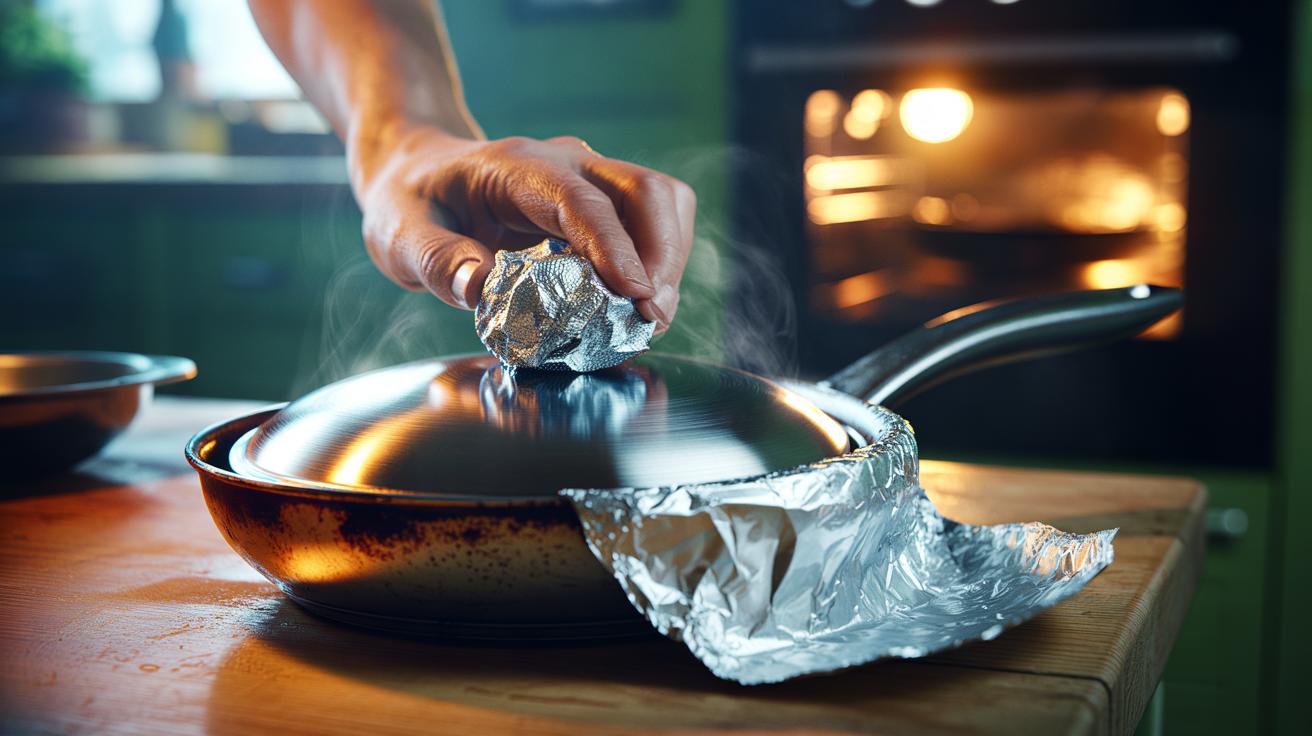
- ✨ One-use routine: foil tent in the oven at 100–120°C for 10–15 minutes, then gentle micro‑abrasion with a crumpled foil ball plus washing-up liquid or bicarbonate of soda, light circular strokes, rinse and buff.
- 🧰 Best targets: stainless exteriors, enameled shells (light pressure), and carbon steel exteriors; avoid non-stick interiors, seasoned surfaces, decorative trims, and glass lids with foil.
- 🧪 Small science: low emissivity drives warming at the residue/air boundary; the foil’s ridges shear loosened films; brief galvanic assist on chrome; stainless passivation remains intact.
- ⚠️ Safety & sustainability: keep heat modest, wear gloves, protect plastics, test an inconspicuous spot, apply light pressure, reuse then recycle clean foil, and dry thoroughly to prevent water marks.
British kitchens are full of pans that graft hard and look tired: scorched stainless, dulled roasting tins, mottled lids. A sheet of humble aluminium foil can give them a second wind. The secret is twofold. Foil’s exceptional heat reflection warms residues faster than the underlying metal, loosening baked-on polymerised grease. Then, crumpled foil acts as a soft, controllable micro‑abrasive to lift the haze. It’s quick, low-cost, and oddly satisfying. Used correctly, you can refresh the exterior of a pan in a single session without resorting to harsh chemicals or heavy grinding. Here’s how the trick works—and how to do it safely.
Why Aluminium Foil Works on Tired Cookware
Aluminium foil reflects a high proportion of radiant energy—typically 85–95% across the infrared spectrum. That makes it a selective warmer. When you tent a dulled pan with foil and apply low oven heat, the foil bounces radiant heat back towards the surface. The pan warms, but the oxidised films and carbonised grease warm faster at their outer edge. The result is a gentle softening that reduces the bond between residue and metal. This difference in heating rate is what makes the subsequent wipe feel magically easy, even though it is simple physics.
There’s a second effect. Crumpled foil forms countless small ridges. Aluminium is a relatively soft metal, so those ridges act as a fine abrasive—enough to shear weakened films without biting deep into intact stainless steel or enamel. Unlike steel wool, it doesn’t shed ferrous fragments that can rust. Unlike scouring powders, it’s easy to control pressure. For delicate finishes, you can vary the crumple tightness to tune the aggressiveness.
Foil also helps focus effort. A tight ball of foil makes contact over micro-points, breaking through haze, then smears loosened residues into a paste you can rinse away. Add a drop of washing-up liquid or a dusting of bicarbonate of soda and you get lubrication plus mild alkalinity, improving glide while keeping scratches minimal. The combination—heat reflection first, featherlight abrasion second—explains the “one use” glow-up.
A One-Use Routine: Heat Reflection Plus Gentle Abrasion
Start clean-ish. Rinse the pan, remove loose grease, and dry. Preheat your oven to 100–120°C (fan 90–110°C). Create a loose foil “tent” around the exterior you want to refresh—the shiny side orientation matters less than cleanliness, but a clean, bright face turned inwards helps. Place the tented pan on a tray. Warm for 10–15 minutes. You’re not cooking the metal; you’re warming the residues so they relax. Low heat is safer than high heat—patience here protects finishes and coatings.
Remove with gloves. Crumple a palm-sized ball of foil. Wet the surface and add a dab of washing-up liquid or a pinch of bicarbonate. Use small, overlapping circles. Work in sections: rim, base, then walls. Keep pressure light; let the now-pliable film give way. On stubborn patches, re-warm for five minutes under the foil tent and repeat. Rinse often to check progress. For stainless, a final buff with a microfibre cloth and a droplet of mineral oil can upgrade the sheen.
Time matters. Most exterior revivals take 8–12 minutes of actual rubbing. Interiors can benefit too—except where seasoning or non-stick is present. Dry thoroughly to prevent watermarking. Always test an inconspicuous spot first and stop if you see colour lift or a matte patch growing. The method should feel quick and controlled, not a marathon. If it isn’t shifting after two cycles, step up to a purpose-made cleaner rather than escalating pressure.
What to Use It On (and When to Avoid)
The foil routine excels on stainless steel exteriors, enameled steel or cast iron (light pressure), and the outer walls of carbon steel pans. It can perk up hard‑anodised aluminium if you’re delicate—though expect less gloss, as that finish is inherently matte. Bare, soft aluminium cookware will blacken the foil and can smear grey; proceed with caution and rinse frequently. Copper? It will brighten slightly, but a proper copper polish remains the gold standard for uniform lustre.
There are firm no-gos. Never use foil abrasion on non‑stick interiors or the seasoned cooking surface of cast iron and carbon steel. You’ll strip what makes them work. Avoid decorative lacquers, printed decals, and gold or painted trims. If a pan has a multi-colour heat tint you like, be aware gentle abrasion will even it out. On glass lids, skip foil entirely; use a non-scratch pad.
| Material/Finish | Foil OK? | Heat Setting & Time | Notes |
|---|---|---|---|
| Stainless steel exterior | Yes | 100–120°C, 10–15 min | Light circular strokes; finish with microfibre. |
| Enameled exterior | Yes, gentle | 90–110°C, 8–12 min | Test first; avoid chips and edges. |
| Carbon steel exterior | Yes, exterior only | 100–110°C, 10 min | Do not touch seasoned interior. |
| Non‑stick interior | No | — | Risk of coating damage. |
| Copper | Limited | Room temp only | Use copper polish for best results. |
When in doubt, assume less pressure and less heat. The idea is a quick cosmetic lift, not a restoration grind.
Small Science, Big Shine: Reflectivity, Oxides, and Safety
Foil’s party trick is its low emissivity—it emits and absorbs less radiant heat than it reflects. In practical terms, a foil tent turns your oven’s gentle warmth into a targeted reflector that softens contamination at the surface/air boundary. That boundary is where polymerised oils start to crack under heat and where a mild alkaline helper (bicarbonate) can creep in to disrupt bonds. The foil ball then provides micro-cutting edges to lift what has been loosened. Reflection first, abrasion second: the order matters because it reduces the force your hand needs to apply.
If you’ve cleaned chrome-plated parts (kettle bands, handles), a damp foil rub can also exploit a tiny galvanic effect that helps reduce light oxidation. Keep it brief and rinse well. On stainless, you’re not removing the protective chromium oxide layer wholesale; you’re levelling surface contaminants so the metal’s natural passivation can shine.
Safety and sustainability count. Wear light gloves, ventilate, and keep temperatures modest. Don’t heat sealed lids or plastic handles under a foil tent. Reuse your crumpled foil ball for multiple sections, then wash and recycle if clean. A small square of foil can replace aggressive scouring pads and cut chemical use, provided you respect coatings and apply a light touch. Finish by drying thoroughly; water left to bead will undo your good work with dull spots.
In a world of pricey pastes and specialist wheels, it’s refreshing that a kitchen drawer staple can deliver a fast, convincing refresh. Use the reflective tent to loosen, the crumpled foil to lift, and a soft cloth to finish, and many “tired” pans look surprisingly presentable in one go. Keep the heat low, the strokes light, and the test patch mandatory. Ready to try a foil-assisted glow-up this weekend—and which forgotten pan will you rescue first, the scorched saucepan or the browned roasting tin?
Did you like it?4.6/5 (24)