In a nutshell
- 🧪 The science: baking soda provides gentle micro-abrasion while CO₂ fizz or oil softens and lifts pressure-sensitive adhesives for zero-residue removal.
- 🧰 Two methods: mix a baking soda + oil paste for plastics and wood, or trigger baking soda + vinegar fizz on glass/metal; wait a few minutes, then wipe with light circular strokes.
- ⚠️ Surface smarts: avoid vinegar on natural stone, test first on soft/clear plastics, use microfibre over scouring pads, and keep moisture away from unsealed wood.
- 🧷 When it struggles: high-strength tapes, silicones, or heat-cured labels may need isopropyl alcohol, citrus removers, or mineral spirits (on glass/metal), with ventilation.
- ✅ Everyday wins: safer, low-odour, budget-friendly and effective—quickly restores jars, appliances, and gadgets without scratches or harsh solvent smells.
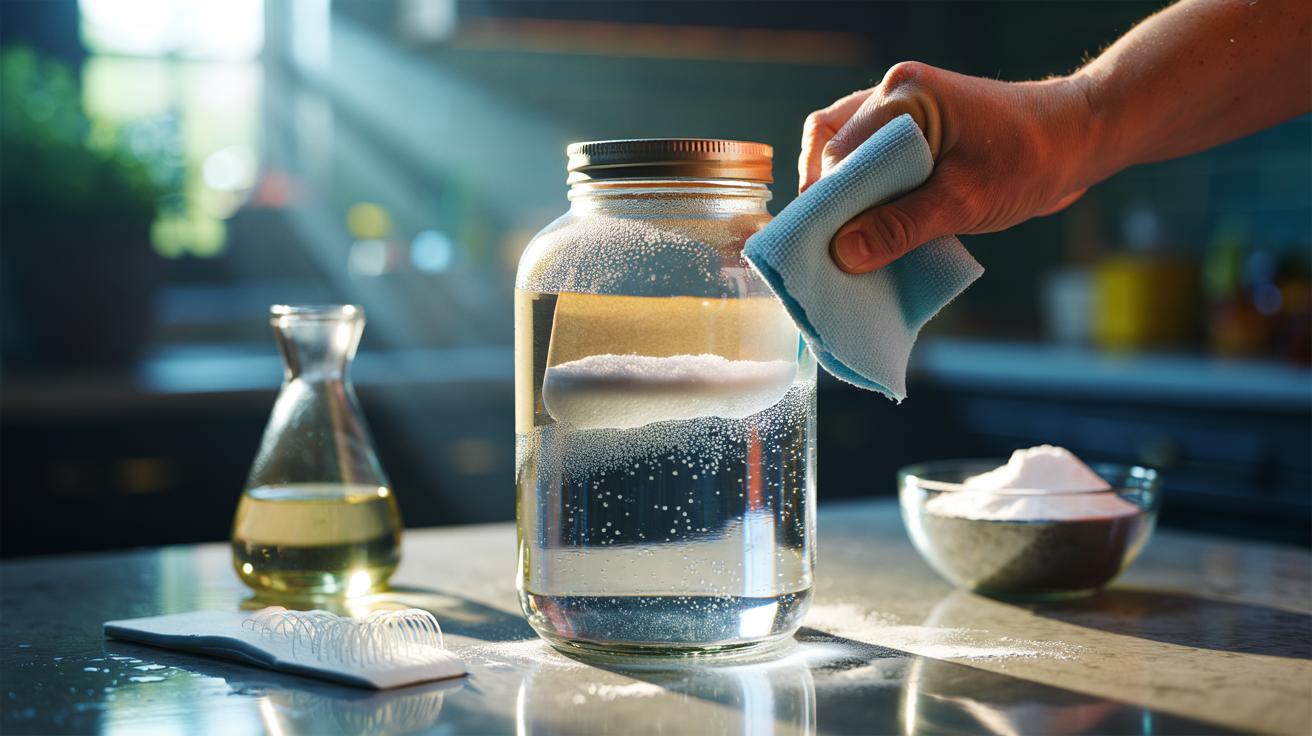
Sticky labels promise convenience, then leave you with smeary glue no one asked for. Here’s the quiet hero: baking soda, a humble white powder that can unstick the lot in minutes. The trick isn’t brute force. It’s what I call fizzy abrasion — a tandem of gentle scrubbing and micro-bubbling that loosens, lifts, and carries away adhesive without scarring the surface. Used with a dash of oil or a little vinegar, it delivers zero-residue results with minimal effort. In kitchens, workshops, and rental flats where solvents feel heavy-handed, this is the tidy, low-odour fix. Let’s unpack why it works, when to deploy it, and how to do it fast.
The Science Behind Fizzy Abrasion
Most packaging uses pressure-sensitive adhesives — acrylic or rubber-based blends packed with tackifiers and plasticisers that grip under light pressure. They’re designed to stick, not cure rock-hard. That’s your advantage. Sodium bicarbonate (baking soda) brings two talents: it’s a mild abrasive, and it nudges chemistry in useful directions. The crystals are hard enough to disrupt sticky films, but soft enough to avoid scratching glass and glazed ceramics. Pair those grains with oils or a fizzing acid and you get a one-two punch: plasticisation plus mechanical lift. It’s finesse over force.
When baking soda meets a mild acid like vinegar, it releases CO₂ fizz that pulses through micro-gaps in the glue. Those bubbles agitate the boundary layer and help detach residue. The solution also shifts pH, encouraging the breakdown of rosin esters found in many tackifiers, particularly under warm conditions. Alternatively, mix baking soda with a light oil (rapeseed, sunflower, even eucalyptus) to penetrate and soften rubbery adhesives while the grains provide controlled micro-abrasion. Let chemistry do the heavy lifting; your hand just guides it.
Why the quick results? Adhesives fail when their cohesive strength drops or the bond to the surface weakens. Oil lowers internal cohesion; fizz undermines the edge; fine grains shear the remaining film. The residue then wipes off rather than smears. On plain glass and metal, this cocktail is impressively fast. On soft plastics, go lighter and slower.
Step-by-Step: From Sticker to Shiny Surface
Start simple. Warm, soapy water loosens paper labels and exposes the glue. Peel what you can with a fingernail or plastic card. For residue, choose your route. Oil route: mix baking soda with a neutral kitchen oil to a spreadable paste (about 2 parts soda to 1 part oil). Smear, wait 5–10 minutes, then rub in circles with a microfibre cloth. Lift with a plastic scraper, reapply if needed, and wash with dish soap. Vinegar route (for glass/metal): dust soda over the glue, drizzle white vinegar to trigger the CO₂ fizz, wait 2–3 minutes, then massage with a soft cloth. Use light pressure; let the grains skim, not grind.
| Surface | Best Method | Wait Time | Notes |
|---|---|---|---|
| Glass, stainless steel | Soda + vinegar fizz | 2–5 min | Fast, streak-free; polish after with dry cloth |
| Glazed ceramics | Soda + vinegar or oil paste | 5–10 min | Both safe; avoid metal scrapers |
| Hard plastics (PP, PE) | Soda + oil paste | 5–15 min | Gentle circles; rinse well with soap |
| Soft/clear plastics (acrylic, polycarbonate) | Dilute oil paste | 10–20 min | Test first to avoid haze |
| Natural stone (marble, limestone) | Soda + oil paste | 5–10 min | Do not use vinegar; risk of etching |
Never use vinegar on natural stone or cement-based surfaces; it can etch or dull them. For stubborn acrylic label varnish, score tiny cross-hatches with a fingernail to let oil in. Wipe clean with warm, soapy water, then dry and buff. The goal is zero residue, no scratches, and no solvent smell left hanging in the air.
Safety, Surfaces, and When It Fails
Baking soda sits at the sweet spot of safe, cheap, and effective. It’s non-toxic, low odour, and drains-safe in household quantities. That said, always test on an inconspicuous spot, especially with soft or optical plastics. The grains rate well below glass on the hardness scale, but relentless scrubbing can still create bloom or haze on delicate polymers. Use microfibre, not scouring pads. Keep vinegar away from marble, limestone, and concrete. And avoid soaking unsealed wood — choose the oil paste, work locally, then wipe dry.
Sometimes the chemistry is against you. High-performance acrylics (think industrial VHB tapes), silicone adhesives, or heat-cured labels can shrug off kitchen chemistry. In those cases, try isopropyl alcohol for acrylics, citrus-based removers for rubbery glues, or a little mineral spirits on glass and metal only. Work ventilated, keep away from flames, and protect finishes. One more pitfall: impatience. Give the paste time to penetrate. Two minutes can mean the difference between clean lift and smeared frustration.
Why prefer this method day to day? It’s kinder to surfaces, noses, and drains. The fizz agitates, the oil softens, and the micro-abrasion does the tidy, final polish. You’re left with clean glass jars for reuse, spotless appliance housings, and labels gone without a trace. Minimal kit, maximum payoff.
In the end, “fizzy abrasion” is just smart household chemistry: bubbles to unstick, grains to finesse, and gentle pH shifts that coax adhesives to let go. It works quickly, smells civilised, and keeps harsh solvents on the shelf for the rare, gnarly jobs. Let the paste rest, then wipe — not scrape — your way to a residue-free finish. Ready to retire the razor blade and rescue more containers and gadgets with baking soda? What surface or label are you itching to test this on next, and which method will you try first?
Did you like it?4.5/5 (25)