In a nutshell
- 🧼 Use a 10-second dryer sheet rub to lift stubborn tea and coffee rings—let speed, not force, do the work, then rinse thoroughly.
- 🧪 It works via cationic surfactants and a soft micro-texture that loosens tannins and oils while gently polishing glazed surfaces.
- 📝 Steps: lightly dampen the mug, fold an unscented sheet, apply light circular strokes for ~10 seconds, rinse, and buff; repeat briefly for limescale.
- 🏺 Material safety: fine on glossy ceramic/porcelain; go gently on matte or unglazed finishes and vintage prints, avoiding gilded rims—test first.
- 🌱 Alternatives: baking soda paste, white vinegar for mineral build-up, melamine foam with minimal pressure, and Bar Keepers Friend as a last resort; choose unscented or reused sheets for lower waste.
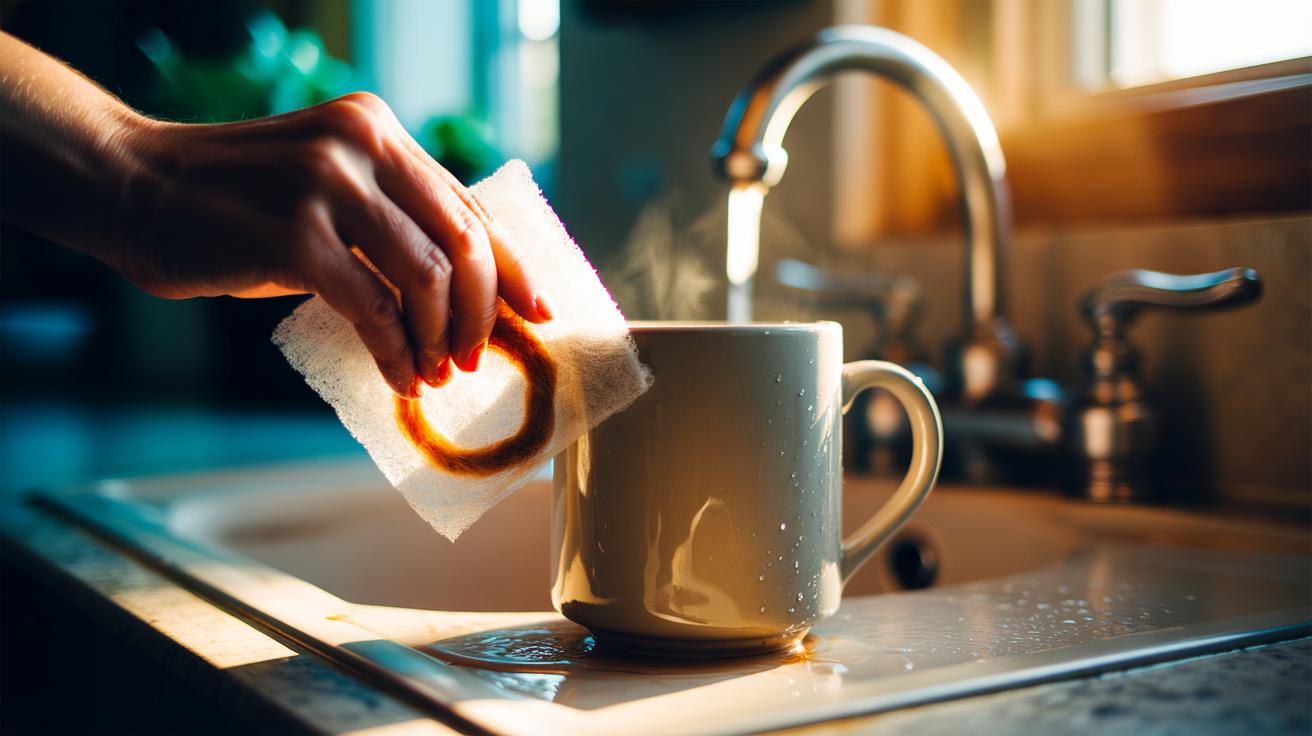
You know the scene. A favourite mug, freshly rinsed, still wearing that faint, stubborn halo of brown. Tea tannins and coffee oils cling to glaze like a bad habit, and ordinary washing-up feels pointless. Here’s the quiet hero: a humble dryer sheet. Thanks to its soft abrasives and fabric-conditioning surfactants, a brisk 10-second rub can ghost those rings away without harsh chemicals or elbow-busting scrubbing. The trick is shockingly fast, reliably gentle, and uses something many homes already have. Below, we unpack the science, the simple method, the materials caveats, and sensible alternatives for eco-minded kitchens and delicate heirlooms.
How a Dryer Sheet Lifts Mug Rings
Dryer sheets aren’t just for soft jumpers. They’re engineered layers carrying cationic surfactants—the same family of agents that tame static in clothes—and a whisper of soft abrasives that behave like an ultra-fine polishing pad. On glazed ceramic and porcelain, those surfactants loosen the bond between tea tannins, coffee oils, and the cup surface, while the micro-texture gently shaves off residue without scouring. That’s the clever balance: enough bite to budge the stain, not enough to scratch the glaze. Because many rings are a thin film of organic compounds mixed with limescale, this combo is ideal.
There’s another reason it’s fast. The sheet’s coating is pressure-activated. When you press and move in small circles, you mobilise a tiny film of conditioning agents that wet, lift, and carry soil away. Add a dab of water and you’ve got capillary action helping too. In practice, the film dissolves the ring’s top layer almost instantly, so the rest wipes free. Speed, not force, does the work. For glossy glazes, it’s brilliantly efficient. For matte or porous finishes, proceed with care—more on that below.
Step-by-Step: The 10-Second Rub
The method is disarmingly simple. Start with a clean, cool mug. Rinse with warm water so the surface is lightly damp—this primes the glaze and helps the sheet glide. Take one dryer sheet (unused or gently used; unscented if you prefer), fold it twice for better control, and lay it flat against the ring. Press lightly and use small, slow circles for about ten seconds. You’ll see the halo fade almost immediately. Rinse thoroughly, then buff dry with a soft cloth. No heavy scrubbing. No harsh powders. Just a neat, low-effort touch-up that leaves the mug photo-ready.
If the ring is ancient or layered with limescale, repeat once. Still there? Add a drop of washing-up liquid to the sheet, rub another 5–10 seconds, then rinse. Keep pressure modest; the glide is what matters. To keep things clear, here’s a quick snapshot of what to use and how long:
| Tool | Purpose | Typical Time |
|---|---|---|
| Dryer sheet (unscented) | Loosen tannins and oils; micro-polish glaze | 10 seconds |
| Warm water | Lubricate and carry away residue | Prep + quick rinse |
| Soft cloth | Final buff for shine | 5 seconds |
Always rinse well to remove any conditioning film and fragrance. If you’re reusing a sheet from the tumble dryer, choose one that isn’t laden with lint, and avoid heavily perfumed versions if you’re sensitive to odours.
Material Safety: Glazes, Prints, and Old China
Glazed ceramic and porcelain mugs are typically safe for this trick, thanks to the glaze’s hardness. Where caution is essential is with matte, satin, or unglazed finishes. These surfaces can hold onto residues and may mark more easily. If in doubt, test in an inconspicuous spot inside the handle arc. For printed designs—especially vintage transfers—use the lightest touch; decades-old decals can be more fragile than they look.
Bone china and fine china? Generally fine if the glaze is intact and glossy, but avoid any rim gilding or hand-painted details. Skip the method entirely on raw stoneware or clay mugs, because the porous surface will trap conditioners and may darken. And if you suspect lead-based glaze in very old pieces, keep them out of regular use and avoid any rubbing beyond a gentle wash. Rinsing is non-negotiable: it clears any residual surfactants and fragrance molecules so your next brew tastes like tea, not laundry. When you keep pressure light and rinse thoroughly, damage risk remains very low.
Alternatives and When to Use Them
Not everyone keeps dryer sheets to hand, and some readers prefer a lower-waste route. Good news: mug rings are versatile opponents. A pinch of baking soda on a damp cloth works as a mild abrasive paste—rub 10–15 seconds, rinse, done. For mineral-heavy rings, a splash of white vinegar breaks limescale; follow with a quick baking soda buff. Melamine foam (magic eraser) is powerful but slightly more abrasive; use tiny strokes and almost no pressure. Stubborn legacy stains respond well to an oxalic cleanser like Bar Keepers Friend, but reserve that for last resort and rinse meticulously.
If fragrance is a concern, choose unscented dryer sheets or switch to the baking soda method. If eco-impact matters, reuse a spent sheet from the dryer—most still have enough surfactant for quick cleaning—or skip sheets altogether in favour of a microfibre cloth and soda. Match the method to the mug and the mess. For daily upkeep, the dryer sheet is unbeatable for speed. For heirlooms or matte pieces, the gentlest paste wins.
This tiny cleaning hack earns its keep because it’s quick, quiet, and kind to everyday glazes. A 10-second rub lowers the barrier to action; you’ll actually do it, rather than tolerate the ring for weeks. Light pressure, short circles, thorough rinse—that’s the rhythm. Whether you lean on a dryer sheet, baking soda, or a melamine sponge, the principle is the same: mild abrasion plus a smart surfactant film. Now it’s your turn at the sink—what’s in your cupboard today, and which method will you try first to make those mugs gleam without a fuss?
Did you like it?4.5/5 (28)