In a nutshell
- 🎯 A taut rubber band stretched across a paint can acts as a scraper, removing excess paint instantly and keeping the rim clean.
- 🧰 Proper setup: centre the band, keep it tight, scrape at a 30–45° angle, and rest the brush on the band to avoid submerging or drying.
- 🧼 Cleaner rims mean better seals and longer paint life, fewer drips and splatters, and improved finish quality on trim, doors, and edges.
- ⏱️ Efficiency boost: consistent loading reduces runs, speeds cutting-in, and delivers measurable time savings and waste reduction.
- ⚠️ Variations and safety: use silicone or nitrile bands for oil-based paints, cross bands for large buckets, and never lift the tin by the band.
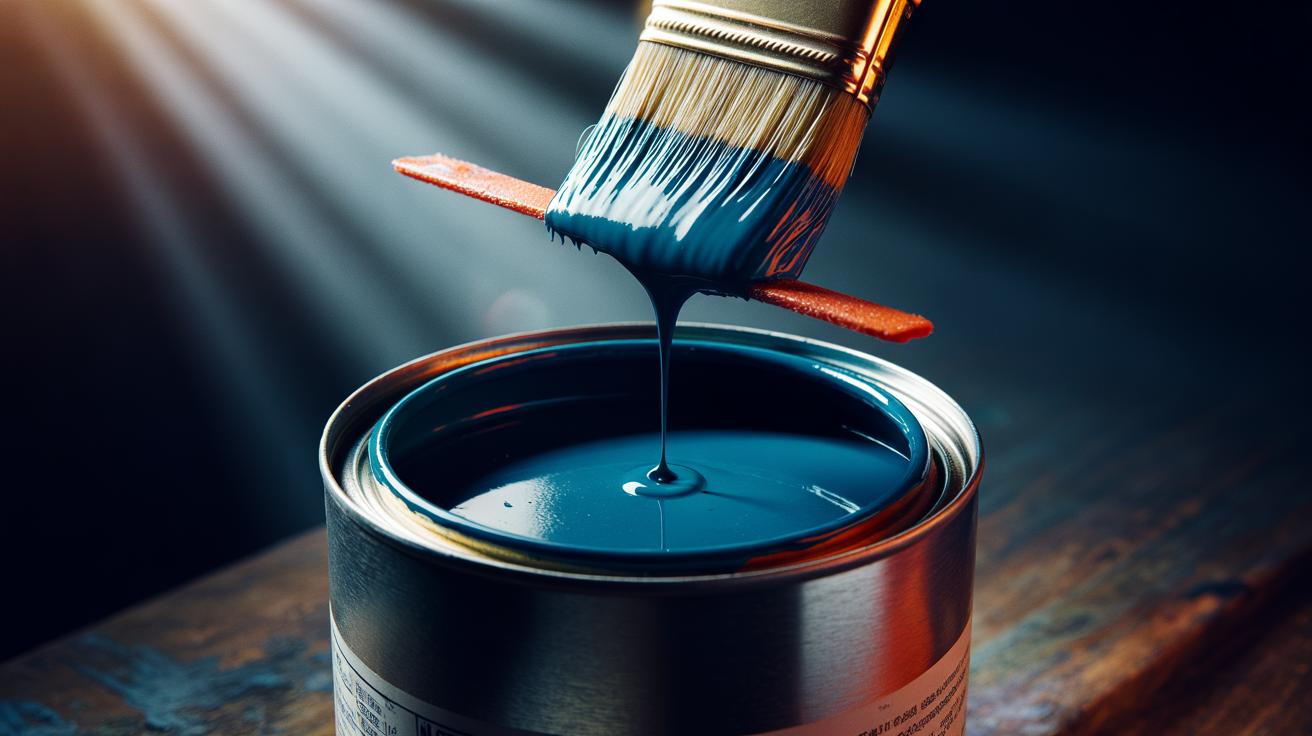
A humble rubber band can transform the way you paint. Loop it around the middle of a paint can, stretch it across the open top, and you’ve got a neat, springy scraper that whisks away excess paint in a second. Less mess on the rim, fewer drips on the floor, and a cleaner brush with every dip. It’s a workshop trick loved by decorators and impatient DIYers alike. Costs pennies. Saves minutes. The beauty lies in the simplicity: a firm, central line that takes paint off the bristles without gouging them. Here’s how it works, how to do it properly, and when to choose alternatives.
Why a Rubber Band Works
Every time you swipe a loaded brush against a can rim, two problems start. Paint gathers in the channel where the lid should seal, and it dribbles down the outside, attracting dust and grit. A taut rubber band stretched across the centre offers a different contact point: it’s raised, clean, and narrow. You press the brush lightly against the band, not the tin. The excess flows back into the paint can, not under the lid. This single change removes the primary source of messy rims and sticky closures.
There’s physics at play. The curved band creates a small, consistent scraping edge that deforms slightly to match the brush’s profile. That gentle give reduces bristle flare and keeps the brush tip crisp, which in turn improves control on skirting boards and edges. The central position also minimises sideways flicking that causes micro-splatters. With less overloading, you lay down thinner, more even coats, reducing sags and improving finish quality—often noticeable on doors and trim. The result is cleaner, calmer painting, with fewer interruptions to wipe, mop, or decant.
Cost is negligible. Efficiency is immediate. And because the band stands above the solvent pool, it stays relatively clean, ready for the next pass. It’s a small hack with outsized impact.
How to Fit and Use the Rubber Band
Pick a wide, robust band—office-size No. 64 or a reusable silicone strap suits most 2.5L tins. Loop it around the tin’s waist, then pull one side up and over the open top so the band crosses the centre. The band should be taut; if it sags, double it or use a thicker one. A straight, centred line is crucial for predictable scraping. Dip the brush, tap lightly to settle the bristles, then draw one face of the brush across the band from ferrule to tip. Rotate and repeat. Don’t press hard; let elasticity do the work.
Angles matter. Hold the brush at roughly 30–45 degrees to the band to guide surplus paint down the bristles and back to the pot. Wipe both sides symmetrically to avoid loading one edge. If you’re cutting in, leave a touch more paint on the outside edge of the brush for a clean line. For quick rolling between coats, the same method keeps touch-up brushes tidy without fouling the rim. When you pause, rest the brush across the band so the tip hovers above the liquid—not submerged, not drying out.
Material choice helps. Natural rubber works well for water-based paints, but some solvent-based products can degrade it. Silicone or nitrile straps resist swelling and last longer in tougher conditions. Keep a spare in the toolbox.
| Can Size | Recommended Band | Tension Check | Notes |
|---|---|---|---|
| 1L tin | Narrow, thick rubber or silicone | Band should not dip more than 5 mm | Double-loop if slack |
| 2.5L tin | No. 64 rubber band | Firm, centred line over the opening | Good all-round choice |
| 5L bucket | Wide elastic strap or bungee | Minimal deflection under brush load | Consider two bands crossed |
Cleanliness, Efficiency, and Finish Quality
Clean tins close properly. That alone justifies the hack. With the band handling scraping duties, the rim stays clear, the lid reseals, and stored paint keeps its colour and viscosity longer. Preventing dried ridges around the rim reduces contamination and extends the life of your paint stock. On site, less drippage means fewer dust nibs, which improves the final sheen. When you’re brushing doors or balustrades, you’ll notice fewer runs and more even coverage, which cuts back on sanding between coats.
Time savings add up. No stops to wipe rims, fewer tray transfers, and far less floor protection cleanup. In practice, decorators report smoother workflow during cutting-in, since the brush is consistently loaded—not flooded—on each pass. Waste shrinks too. Overloading a brush can leave 10–20% of the paint on the drop cloth rather than the wall; the band curbs that loss. With better control, you work closer to edges and outlets without feathering or splatter, speeding up snag lists and touch-ups. Less paint wasted. Fewer wipes. A calmer day’s work.
There’s a psychological gain as well: a tidy pot lowers stress and nudges better habits—clean brush, measured strokes, sharper lines. Small systems create big improvements.
Variations, Safety Notes, and Edge Cases
If you’re working with heavy-bodied primers or oil-based paints, use a silicone strap or nitrile band. These resist swelling and snapping. For broader buckets, two bands crossed at right angles create a stable grid. Painting ceilings? Add a second strap slightly offset to rest a brush horizontally between cuts. Never rely on the band as a handle—support the brush when moving the tin. If the tin has a sharp lip, protect the band with a tiny strip of painter’s tape at the contact points to prevent nicking.
In very hot rooms, bands can soften. Swap them mid-session if tension drops. If you must close the lid mid-job, slide the band aside to avoid denting it under the seal, then reposition when you reopen. Concerned about colour contamination? Wipe the band periodically with a cloth and a compatible cleaner; for water-based paints, a damp rag does the trick. Sensitive finishes—high-gloss doors, fine joinery—benefit from the gentler scrape of silicone, which is kinder to premium brush fibres.
Alternatives exist: clip-on can scrapers, magnetic brush rests, even improvised cord wraps. They work, yet few match the cost-speed blend of a simple band. Start simple, upgrade only if your workflow demands it.
For a tool that costs less than a cuppa, the rubber band trick punches well above its weight. Cleaner rims, leaner coats, sharper edges—outcomes you can see after the first pass. Try it on your next hallway refresh or trim touch-up, and notice how quickly the drips and waste disappear. Keep a couple of silicone options in your kit for tougher paints and larger tins, and you’ll cover every scenario. What surface are you tackling next, and how will you adapt this simple wrap to suit your room, your brush, and your pace?
Did you like it?4.4/5 (27)