In a nutshell
- 🧴 Use a tea-strength dilution: 120 ml white distilled vinegar to 4 L water with a microfibre mop, kept damp, not wet, to dissolve residue and prevent streaks.
- ⚗️ The science: acetic acid neutralises alkaline films and hard-water minerals, lowers surface tension, and helps floors dry evenly in minutes.
- 🧹 Method matters: vacuum first, mop in small sections along the grain, rinse and wring frequently, ventilate for fast evaporation, and optionally buff dry for extra clarity.
- 🚫 Know the limits: avoid vinegar on waxed, oiled, or unsealed wood and on natural stone; stick to white distilled and never mix with bleach.
- 📋 Pro tips: follow the quick-reference ratios, choose the right tools, keep contact time short, test in a discreet corner, and treat vinegar as light-touch maintenance, not a heavy scrub.
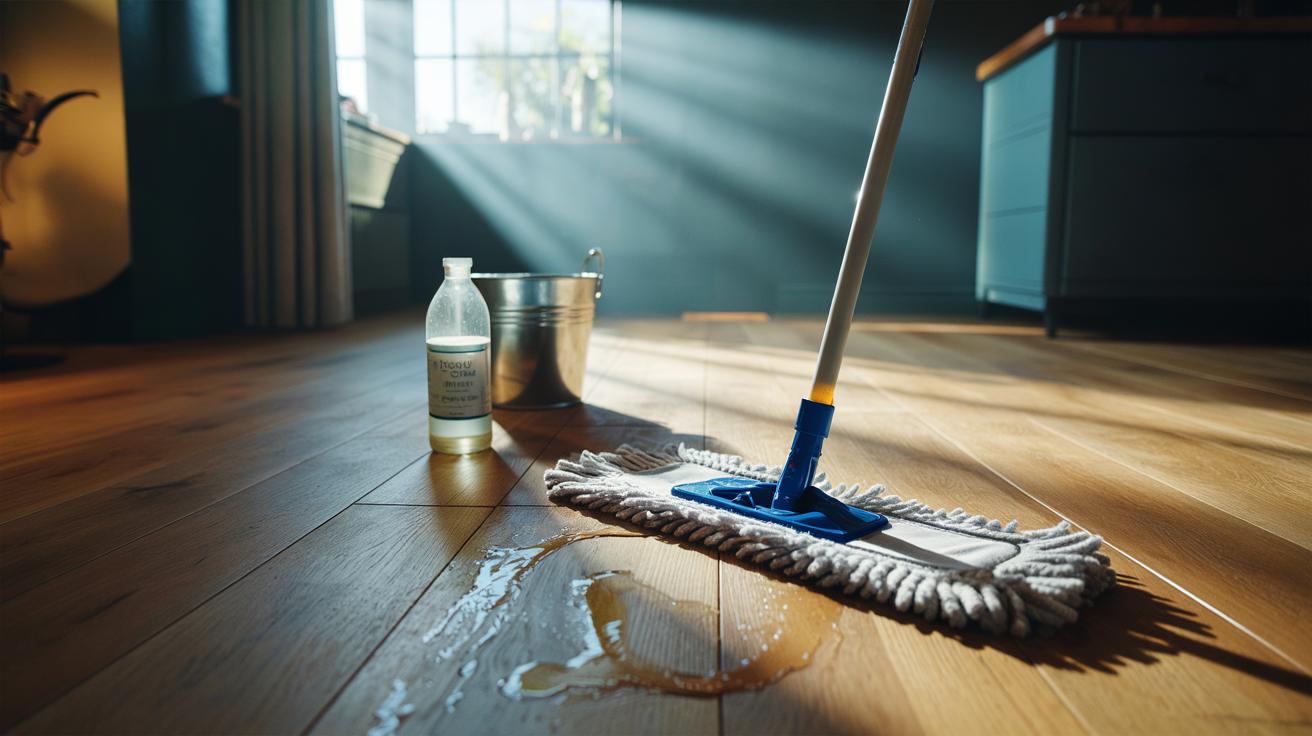
Across the UK, households are rediscovering a humble hero: the vinegar mop. In homes where wooden floors endure muddy school runs, pet pawprints and the tell-tale haze from hard water, a simple, diluted splash of white vinegar can be transformative. It’s fast. It’s frugal. And when mixed correctly, it leaves boards with a clean, low-sheen glow that resists streaks. The trick is chemistry and care. Vinegar’s gentle acidity cuts residue in minutes without aggressive scrubbing, while a lightly damp microfibre does the heavy lifting. The vital rule is restraint: dilute thoroughly, wring hard, mop quickly, and let air do the drying. Done right, you’ll finish a room before the kettle boils.
Why Diluted Vinegar Stops Streaks on Timber Floors
Streaks on sealed wooden floors usually come from two culprits: leftover detergent film and minerals from hard water. Vinegar, specifically white distilled vinegar (5% acetic acid), neutralises alkaline residue and dissolves microscopic limescale. That matters in hard-water areas from Kent to the Midlands, where tap water dries to a faint, chalky map across boards. Vinegar lowers surface tension too, so water spreads thinly and evaporates evenly rather than pooling into cloudy patches. The result is a floor that dries without tide marks.
But the win depends entirely on dilution. Strong vinegar can dull modern polyurethane finishes over time and should never touch waxed, oiled or unsealed timber. Think of your solution as “tea-strength”: present but gentle. A microfibre mop head captures loosened grime and suspended minerals so they don’t resettle as streaks. Work with the grain to reduce visible swirls, and keep the mop only damp, not dripping. Chemistry is doing most of the work; your role is to give it a swift, even pass and remove what it lifts.
The Step-By-Step Vinegar Mop Method for a Streak-Free Finish
Preparation is half the shine. Start by clearing grit: vacuum with a soft brush or run a dry microfibre pad to remove dust that can scratch when you mop. Fill a bucket with warm (not hot) water and add 120 ml of white vinegar to 4 litres. That’s roughly half a cup to a standard bucket. Swirl gently. Wring the mop until it feels barely damp—if it drips, it’s too wet for wood.
Work in small sections. Glide the mop along the grain in overlapping strokes, using a figure-eight in tight spots to corral residue. Rinse and re-wring frequently so the head stays clean and thirsty. Open a window or switch on an extractor for faster evaporation; speed helps defeat streaks. Stubborn prints or a sticky spill? Pause to spot-clean with a fresh corner of the pad, then resume. For a polished look, lightly buff with a dry microfibre cloth as the floor finishes drying. It’s optional, but impressive.
Most rooms take under ten minutes. The floor should feel clean, not slick. And the scent? It fades quickly, leaving a crisp, neutral result that doesn’t shout “cleaner” at your senses.
Ratios, Tools, and Common Mistakes to Avoid
Measure once, mop fast, and you’ll avoid the pitfalls that give vinegar an undeserved bad name. Use the right vinegar, the right mop, and a sensible contact time. The quick reference below keeps it simple.
| Item | Recommendation | Why It Matters |
|---|---|---|
| Dilution | 120 ml vinegar : 4 L water | Gentle acidity cleans without dulling finishes |
| Mop head | Microfibre flat mop | Even coverage, minimal water, captures residue |
| Passes | Single pass per section | Prevents re-depositing film |
| Drying | 5–10 minutes with ventilation | Fast evaporation reduces streaking |
Avoid malt or balsamic vinegars, which can stain—stick to clear, white distilled. Never pour solution directly on the floor. Standing water is the enemy of timber. Don’t mix vinegar with bleach or oxygen cleaners; the chemistry is unsafe or unhelpful. Swap old string mops for microfibre, which wrings drier and lifts more. If you spot clouding, your solution was too strong or your mop too wet—rinse the pad, refresh your bucket, and try again. Finally, always test in a discreet corner first; finishes vary by manufacturer, age and previous care.
When Not to Use Vinegar and Better Options
Vinegar’s versatility has limits. Do not use on waxed, oil-finished or unsealed boards; the acidity can strip or spot the finish. For oiled floors, choose a soap formulated for hardwax oils, diluted as directed. On waxed wood, dry maintenance—vacuum, then buff—protects the patina. Avoid vinegar on adjacent stone thresholds (marble, limestone, terrazzo), where acids etch permanently. Laminate? Manufacturers vary: a lightly damp microfibre with plain water is safest, or a pH-neutral laminate cleaner.
If you’re battling greasy kitchen traffic, a few drops of mild washing-up liquid in a bucket of warm water can help, followed by a quick pass with the vinegar mix to neutralise any soapy film. For stubborn black heel marks, a white pencil eraser often works without moisture. Think of vinegar as part of a toolkit, not a cure-all: precise, occasional, effective. And always protect high-wear areas with mats and felt pads to reduce future cleaning effort.
The case for the vinegar mop life-saver is compelling: it’s cheap, green, and brilliantly quick when floors are sealed and the solution is measured. Science does the polishing, not elbow grease. Use microfibre, keep the mop damp not wet, and let a breeze finish the job. Your boards will look refreshed rather than lacquered, clean without the glassy glare that shows every footprint. Treat vinegar as a light-touch maintenance wash, not a heavy-duty scrub. Ready to try the tea-strength method at home—and which room will you transform first?
Did you like it?4.4/5 (30)