In a nutshell
- 🧀 The aluminium foil cheese grater hack works by gently burnishing and de-gunking the teeth, restoring bite in seconds rather than fully re-grinding edges.
- 🔧 Follow a simple step-by-step: wash and dry the grater, fold foil into a firm pad, make 30–60 natural grating strokes per face, then wash and dry thoroughly.
- ⚠️ Prioritise safety and hygiene: use a cut-resistant glove, avoid bent or rusted teeth, scrub off grey residue, and dry completely to prevent corrosion.
- 🧪 Test results with carrot, mature cheddar, and tomato skin; if performance lags, repeat with fresh foil. Consider alternatives like 1000–2000 grit sandpaper or deep cleaning for residue.
- ♻️ Aim for little-and-often maintenance, and know when to replace a grater with rounded, pitted, or flexing panels—no hack will restore factory-sharp teeth.
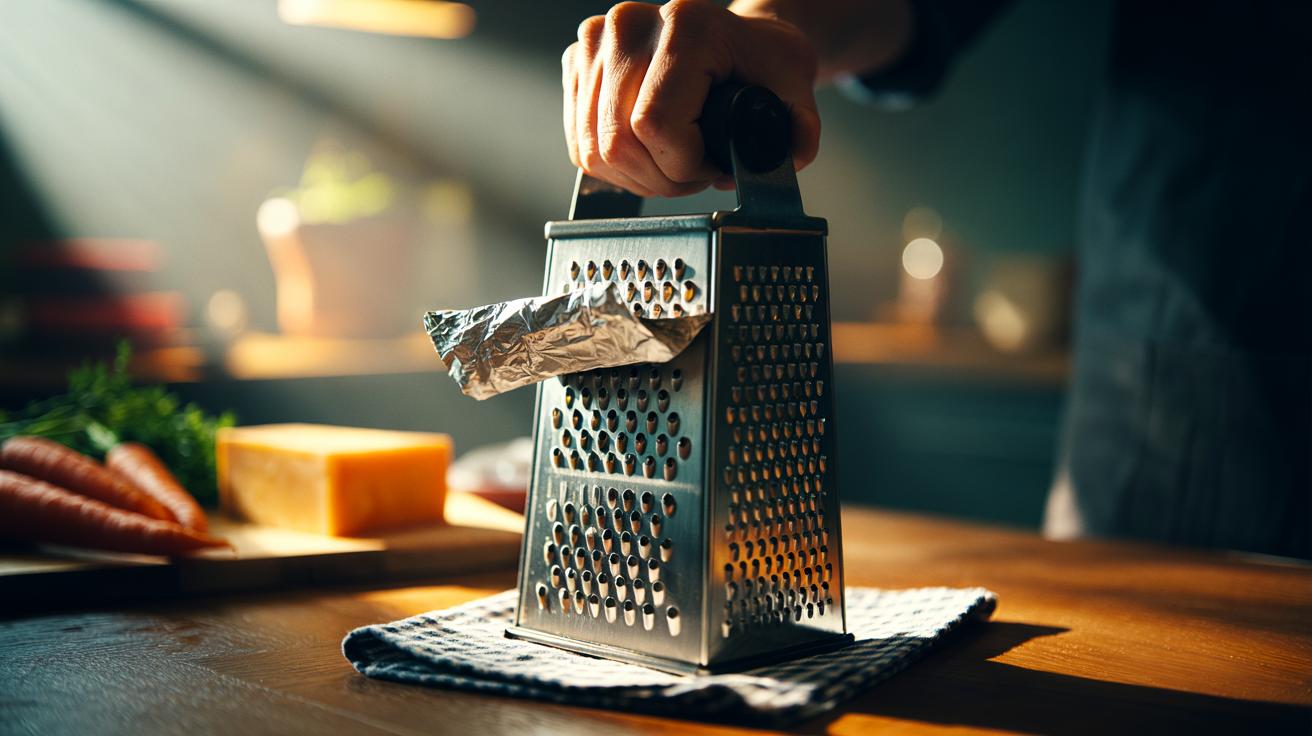
Kitchen lore thrives on simple fixes that save time, money, and a bit of bloodied knuckle. The latest whisper from home cooks and pro chefs alike? The aluminium foil cheese grater hack. Grab a sheet, fold it, grate it, and your stubbornly blunt tool suddenly bites again. In truth, the method doesn’t replace a professional sharpening service; few ever offer one for graters anyway. But it can refresh the cutting edges in seconds, clearing oxidised metal, food residue, and microscopic burrs. Used properly, it’s quick, cheap, and surprisingly effective for daily maintenance. Here’s the science, the method, the pitfalls—and how to know when it’s time to retire your trusty grater for good.
How the Foil Trick Actually Works
Think of your cheese grater as a forest of tiny teeth. Over time, those teeth lose bite not only because they become dull, but because micro-burrs roll over and residues cling to the edges. Aluminium foil lends a curious assist. It’s a soft metal, yes, but its oxide layer offers mild abrasiveness. Repeated passes create a burnishing effect, which cleans the micro-edges and nudges them back into a more effective geometry. You’re not grinding new edges; you’re restoring function by realigning and de-gunking what’s already there.
This distinction matters. “Sharpen in seconds” is catchy, yet the real win is consistency, not miracles. Expect a noticeable improvement with hard vegetables and semi-hard cheeses, less so with very soft varieties where stickiness, not sharpness, is the limiting factor. The trick shines on classic stamped-tooth four-sided box graters. With etched microplanes, the foil can help with residue, but aggressive rubbing risks blunting the ultra-fine peaks more quickly.
In practice, the foil acts like an ultra-fine honing strop. A few dozen strokes will dislodge stubborn films that washing misses. That’s why the grater often feels “new” after the hack: your fingers notice less drag, your wrist works less, and food shreds with cleaner, longer ribbons rather than fluffy, torn granules.
Step-By-Step: Sharpening Your Grater With Foil
First, start clean. Wash and dry your grater to remove oil or soap residue; water between the teeth blunts results. Tear a large sheet of aluminium foil and fold it into a tight, multi-layered pad, roughly postcard size and a few millimetres thick. Thicker pads resist crumpling under pressure and give the teeth a firmer target. Stability is everything: place a damp tea towel under the grater so it won’t skate along the counter.
Hold the foil as you would a chunk of cheddar and grate with the usual downward strokes, 30–60 passes per active face. Keep the angle natural. You’re trying to mimic real grating so the teeth meet resistance along their cutting edges. Shake out the grater, then repeat with a fresh foil face if the sheet blackens; that dark residue is a mix of oxide, microscopic metal, and grime you want to remove, not reapply.
Finish with a brisk scrub using hot water and washing-up liquid, then dry thoroughly—ideally with a hairdryer’s cool setting to chase moisture from crevices. For an extra-bright edge, wipe with a vinegar-dampened cloth and dry again. Never leave the grater to air-dry after the foil step; trapped moisture dulls performance and invites speckled corrosion around the teeth.
Safety, Hygiene, and When to Replace
Graters bite back when handled casually. Use a cut-resistant glove or a small end-piece guard for the final strokes on both cheese and foil. Keep fingertips high. If your grater has a removable base or a storage drawer, take it off before the hack so you can work each panel safely. If the teeth look bent or snag garments, stop: a mangled panel won’t improve with foil and could shed metal.
Hygiene matters. Always wash away the grey residue after the hack. If you notice black streaks on paper towel post-wash, keep scrubbing until it wipes clean. Avoid dishwasher heat-dry cycles immediately after foil use; rapid steaming can set residues. For stubborn smells or onion oils, rub with lemon and coarse salt, rinse, and dry. Clean, dry steel cuts better—and stays sharper longer.
Know when to let go. If the teeth are visibly rounded, rust has pitted the cutting edges, or the panel flexes under light pressure, no hack will restore factory bite. Deep rust near perforations and cracked seams are red flags. Consider upgrading to a quality stainless model with replaceable panels or a dedicated microplane for zest and hard cheese. False economy is replacing knuckles, not tools.
Testing Results and Smart Alternatives
After the foil treatment, test on three benchmarks: a firm carrot, a block of mature cheddar, and a juicy tomato. Carrot should shred into even matchsticks with less wrist effort. Cheddar should fall in tidy curls, not snow. The tomato’s skin is the clincher; if a coarse side nibbles it cleanly, you’ve significantly improved edge performance. If results disappoint, repeat with a fresh foil pad and adjust pressure and angle.
| Method | Time | Cost | Best For | Caveats |
|---|---|---|---|---|
| Foil hack | 1–3 minutes | Pennies | Routine refresh | Hones, doesn’t re-grind |
| Fine sandpaper (1000–2000 grit) | 5–10 minutes | Low | Large-hole panels | Risk of over-thinning teeth |
| Deep clean (lemon + salt) | 3–5 minutes | Low | Residue removal | No sharpening effect |
| Replace grater | Instant | ££ | Worn or rusted tools | Waste if premature |
Another quick win: a stiff nylon brush with a dab of bicarbonate of soda to scour between teeth before the foil pass. For microplanes, be gentler—push foil lightly or skip entirely and focus on scrupulous cleaning to maintain the etched edges. The best strategy is little and often: brief maintenance after every few uses keeps the metal lively and spares you from elbow-grease marathons.
In a cost-of-living moment, the humble foil hack is a small, satisfying victory. It respects the tool you already own, restores performance fast, and keeps weeknight cooking from feeling like hard labour. Used with care, it’s safe, hygienic, and repeatable. Used heedlessly, it’s a shortcut to frustration. Try it once, test it properly, and decide if it earns a spot in your routine. What will you grate first—cheddar for toasties, carrots for slaw, or a cheeky tomato test to prove your grater’s back on form?
Did you like it?4.5/5 (30)